


OVERVIEW
In my previous blog posts, we got to know what Jenkins is and its importance as a continuous integration tool. In this article, we will be going through how to work with Jenkins on an Ubuntu operating system. Let's get right into it.
Quickstart
Step 1:- Install Jenkins and its dependencies
Update the server and install JDK since Jenkins is a Java-based application
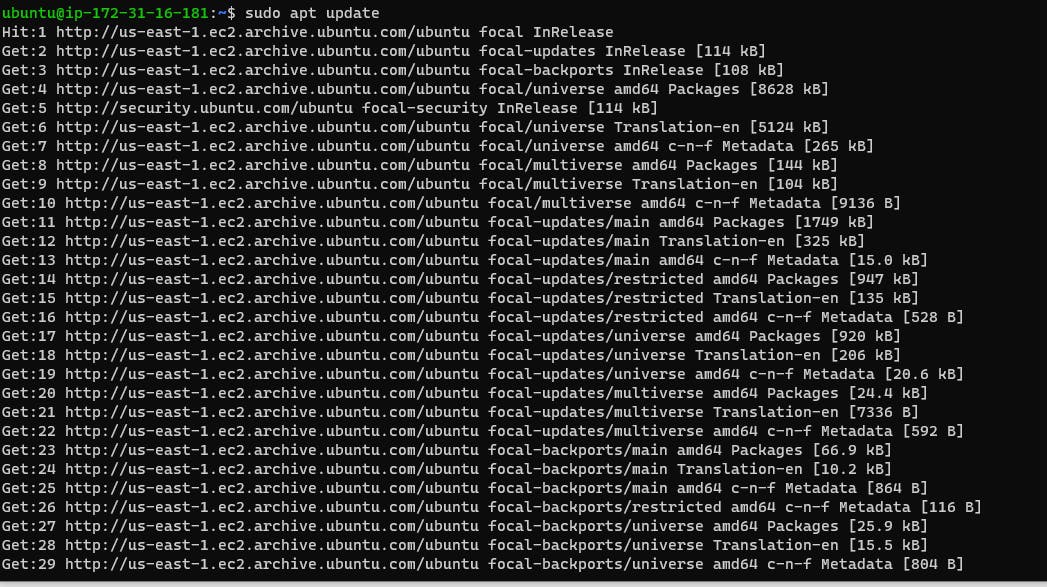
sudo apt update
sudo apt install default-jdk-headless

Install Jenkins and ensure that it is running
wget -q -O - https://pkg.jenkins.io/debian-stable/jenkins.io.key | sudo apt-key add -
sudo sh -c 'echo deb https://pkg.jenkins.io/debian-stable binary/ > \
    /etc/apt/sources.list.d/jenkins.list'
sudo apt update
sudo apt-get install jenkins
sudo systemctl status jenkins


Step 2:- Perform Initial Jenkins setup
Access the public IP address of your Jenkins server from your web browser
http://<Jenkins-Server-Public-IP-Address-or-Public-DNS-Name>:8080
To ensure Jenkins is securely set up by the administrator, a password has been written in a file on the server but you have to check the file, copy the password and paste it on the Jenkins console before you can continue the Jenkins setup.
Just run `sudo cat /var/lib/jenkins/secrets/initialAdminPassword` on the terminal you're using and get
the password.
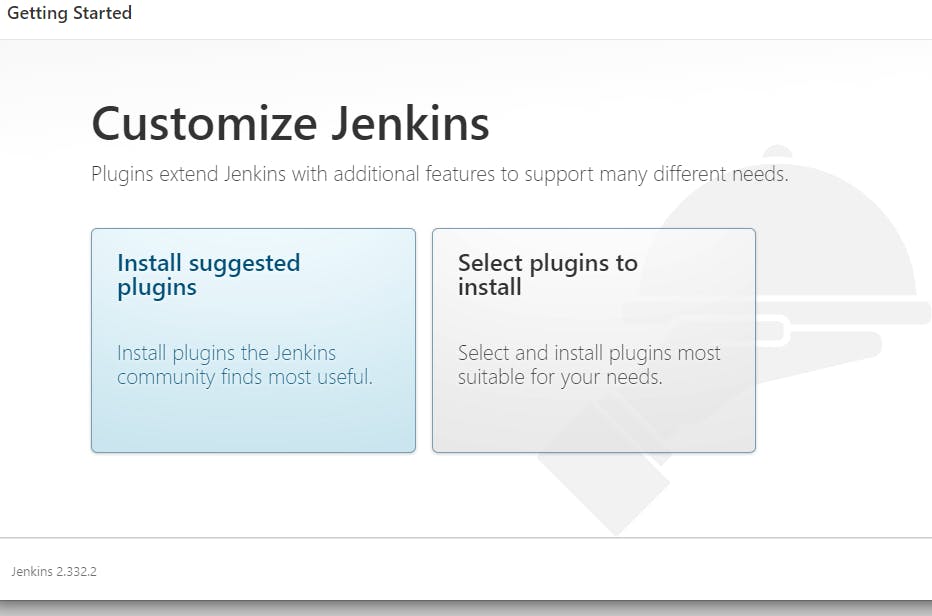
Customize Jenkins by installing suggested plugins.
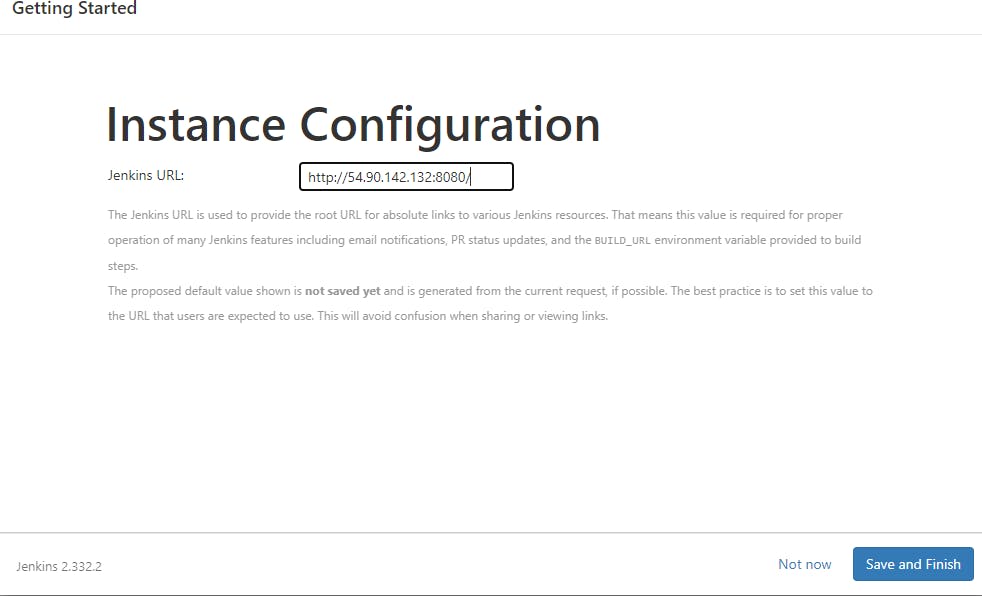
Create an admin user then you will get your jenkins address.

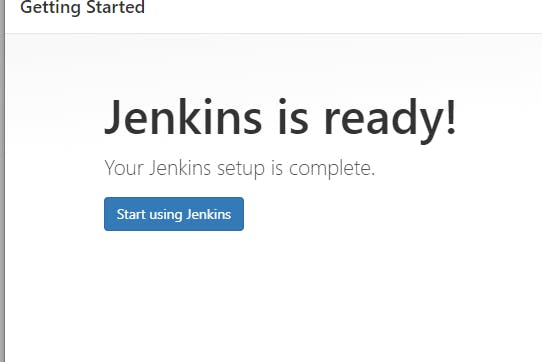
Then you can start performing your desired project on the jenkins console
